
All wood projects require preparation sanding. If you skip this critical step, your finish may fail.
Raw wood
See our video: How To Prep Sand New Wood
1. Sand no finer than 220 grit.
2. Remove dust.
New Stained Surface: Do not sand. Apply directly to the stained surface.
Sealed Surface
See our video: How to Prepare Existing Finishes
- Scuff clean with a non-woven abrasive pad & 50:50 mix of denatured alcohol & water.
- Dry 1-2 hours.
- Sand lightly with 220-320-grit sanding sponge.
- Remove Dust
Step 2: How To Apply General Finishes Sanding Sealer
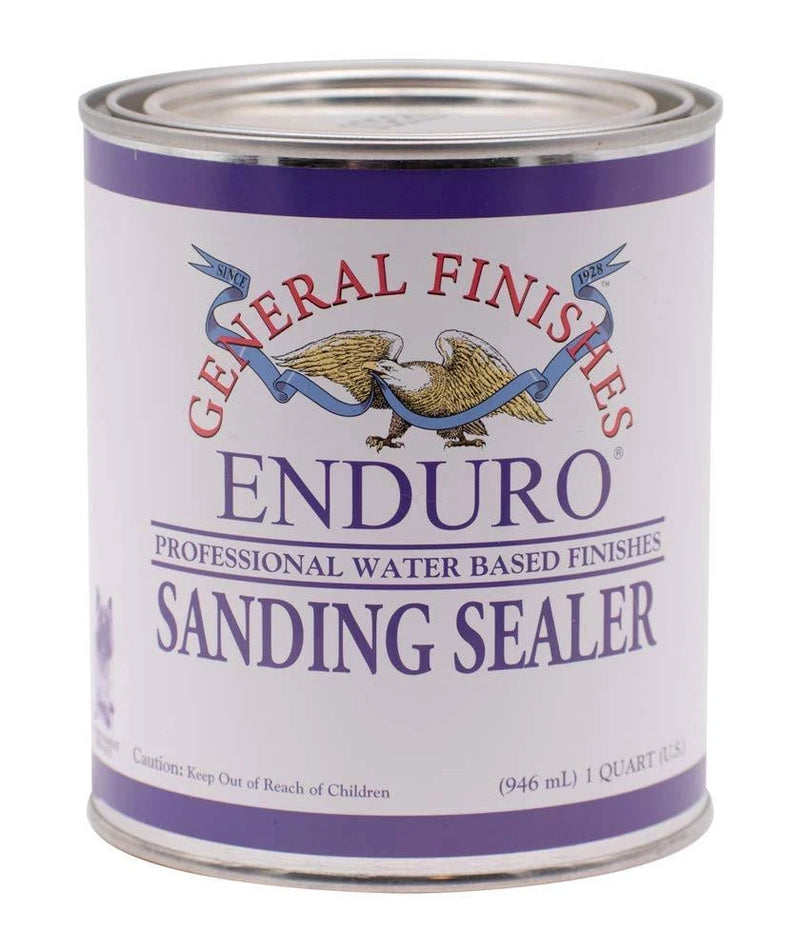
General Finishes Enduro Professional Sanding Sealer is a clear undercoat that forms an easily sandable foundation over raw wood or an unsealed stained surface.
Sanding Sealer is not recommended as a final finish because it is not as durable as a topcoat. Seal Sanding Sealer with any General Finishes water-based topcoat, EXCEPT original formula of General Finishes Enduro-Var.
However, the new formulation (Enduro-Var II) with renewable resources is compatible with all GF products), for improved water and chemical resistance.
Caution: Do NOT use any clear topcoat over bright whites as it may cause yellowing.
Enduro Sanding Sealer Application Steps
- Watch product overview video here.
- Work in a well-ventilated area.
- Stir Enduro Sanding Sealer thoroughly to reincorporate solids that have settled to the bottom of the can before and throughout the application process. Do not shake.
- Test for adhesion when applying over an existing finish.
- Thin as desired with distilled water; start with 5%, adding up to 10% by volume.
- Increase open time, if needed, with10-15% General Finishes Extender if allowed by local regulations. GF Extender will improve flow and leveling and increase open time, which is helpful in dry climates. California Residents: Adding more than 2% of GF Extender will make the products non-compliant per SCAQMD Regulations. GF assumes no liability for the improper use of these products.
- Apply 1-2 coats. We recommend no more than 2 coats.
- Hand application: Enduro Sanding Sealer is engineered to spray but can be applied successfully applied by hand. Apply a liberal amount using a synthetic bristle or foam brush, pad applicator, or roller with smooth, even strokes & light lap lines. Avoid heavy pressure & back-brushing. Lap lines will tighten down as they dry.
- Spray Application: Ready to spray from container. Before spraying, strain topcoat through a fine-mesh filter. Spray wet films at 3-5-mil thickness. Medium air cap. Compressed air: .040, HVLP: .043-.051 or Airless: .009-.123 . Verify tip sizes with your equipment supplier. See our spray tip size recommendations here. Keep your gun at a 90° angle, 6-8" from the surface. On large, flat areas, use wet, even patterns 6-8" wide. For narrow surfaces, reduce the fan pattern to 2-3" wide to reduce overspray. Overlap each pass 25% to conceal lines. Wear a full filter respirator (NIOSH/MSHA approved) and work in a ventilated space. Read here for more information on spraying techniques..Finish sand between coats with a fine-grade (220-320) foam sanding pad or 400-grit sandpaper to improve smoothness and adhesion.
8. Sand lightly between coats with 220-320-grit sanding sponge.
9. Remove dust with a vacuum, compressed air, an oil free tack cloth or water-dampened rag.
10.Apply topcoat.
Benefits of using Sanding Sealer
You can substitute your first coat or two of topcoat with less-expensive Sanding Sealer. This also saves time because it is easier to sand and dries faster than topcoat.
- It makes a strong barrier coat when working with existing finishes.
- The resin particle is also larger, so the finish "builds faster" (how thick it looks).
- It has strong adhesion properties. Sanding Sealer does not stop tannin or dye bleed-through, but it does improve adhesion.
- Sanding sealer dries to the touch in 10-20 minutes in ideal conditions of 70˚F/21˚C; 50% humidity.
- Example of use:
- Apply 1 coat of Sanding Sealer; finish sand before applying topcoat.
- Apply 1 coat of Sanding Sealer; finish sand before applying paint.
MDF: Sanding Sealer can be used on MDF, but the better choice would be White Undercoat or Stain Blocker. Both build faster and would probably require one less coat than Sanding Sealer.
Warning: Do not use water-based products with Linseed Oils or Danish Oils.
Dry Time
Dry 1+ hours between coats in ideal conditions: 70°F 21°C; 50% humidity. Tack-free: 5-10 minutes. Ready to sand: 30-45 minutes.
Be sure to allow adequate dry time. You can tell if a water-based finish is dry if it forms a powder when lightly sanded with a 220-320 grit sanding sponge pad or 400-grit sandpaper. If in doubt, wait longer. Rushing the dry time can cause "blush," which is clouding in the finish due to moisture trapped between the layers.
Increase dry time if:
- Humidity is over 80%
- Temperatures are cooler.
- 3+ coats are applied
- Thick coats are applied
- Applying over an existing sealed finish
- Applying over products from other brands
- Layering General Finishes water- and oil-based products:
- Water over oil: Let oil-based products dry 72+hr before applying water-based products
- Oil over water: Let water-based products dry 24+hr before applying oil-based products
- To accelerate dry time in humid conditions, add General Finishes Accelerator and work in a space with good ventilation and air movement. If you decide to re-coat before the recommended time, test dryness.
Yellowing & Clear Topcoat
As is true of most "water-white" topcoats, General Finishes water-based topcoats dry clear over non-reactive substrates, such as plastic or metal, except General Finishes Enduro-Var, which ambers. When white paint sealed with a water-white topcoat is applied to something as unpredictable as wood, all bets are off and the reason for yellowing is often unknown. It can be caused by topcoat activating tannins in raw wood or aniline dyes, stains, or contaminants in a pre-existing finish. This is most evident when using BRIGHT WHITE paint and most prevalent in sculpted details of furniture where the topcoat can collect, intensifying color change to an unacceptable level.
There is no reliable way to predict whether yellowing will occur and to what degree. Every existing finish is different and we rarely know the finishing provenance on an existing piece. Every tree is different and every piece of wood is unique. Raw wood can bleed tannins immediately after the topcoat dries or months later with seasonal temperature changes. Oak, pine, mahogany, and douglas fir are particularly prone to bleed-through.
Summary
- Whites have a lower “hide” quality and are more transparent than most other colors. Nearly all bright whites require additional coats to achieve the desired color and minimize color variation. This can increase the cost of paint finishing. Always include a clause in your contracts addressing the need for additional coats to achieve coverage.
- All bright white paint will yellow slightly with time, with or without topcoat. You have probably tried to touch up white woodwork in your home after several years and noticed the new paint is brighter.
- The underlying finish or wood species can affect the final color of light paint.
- Details and inside corners are difficult to cover with any paint color, but it tends to be more noticeable with whites. This is a naturally occurring phenomenon in paint application and does not necessarily constitute a defect in the paint finish or your technique.
- The more porous the paint, such as a chalk paint, the more likely that yellowing will occur. The topcoat is seeping through the spaces caused by the larger particles of filler that give Chalk Paints their texture.
Tips to Prevent Yellowing
- If it is a low-use project, use a premium white paint that is self-sealing and does not require a topcoat. A clear topcoat is not required on General Finishes Milk Paint for increased durability, as it is a self-sealing, exterior-rated coating with high durability and chemical and water resistance. However, topcoats do provide a smooth surface that is easier to clean and boosts durability for high-use projects, such as tabletops and kitchen cabinets.
- Use a professional spray such as General Finishes Enduro White Poly. It has "increased topcoat properties," is a standalone finish when 3 coats are applied, and does not require sealing with a topcoat.
- We recommend using General Finishes Stain Blocker, an engineered chemical barrier, to prevent persistent bleed-through for interior-use projects.
- Stain Blocker does not adhere to melamine cabinet veneers.
- Stain Blocker cannot be tinted.
- Always test your project's ENTIRE finishing schedule (from cleaning to topcoat) on an inside door or a more hidden area of the piece. This will not help if the yellowing occurs later, but at least you will know if there is an immediate problem.
- Avoid painting period furniture, such as a 1940s serpentine mahogany desk, with light colors. The pieces were often finished in stain that contained aniline dyes, which cast a pinkish bleed-through under light paint. Not every piece of furniture is suitable for upcycling with a light paint color. Pine, mahogany, and furniture of the 1940s and 50s are a red flag.
- Last, not all manufacturers' topcoats are compatible with other finishes and may react with a color change. Always follow best practices by not rushing, and testing to your satisfaction first.
Knots
Knots in wood tend to bleed and are dense, making paint and stain adhesion a challenge. Stain Blocker may improve adhesion and prevent bleed-through for painting projects. Pine knots are especially difficult to cover with white or light paints. If you decide to paint over them, apply 3 coats of Stain Blocker first; however, we cannot guarantee adhesion or bleed-through blockage. You are better off using a dark paint on pine.
Cleanup of Water Based Products
Application tools and materials containing water-based products can be cleaned with soap and water or General Finishes Brush & Gun Cleaner immediately after use.
Product Spills
Spills may be able to be removed from fabric and carpet if cleaned immediately with soap and water.
Disposal
Discard unused product and waste in an environmentally safe manner; check with local fire and health regulation.